
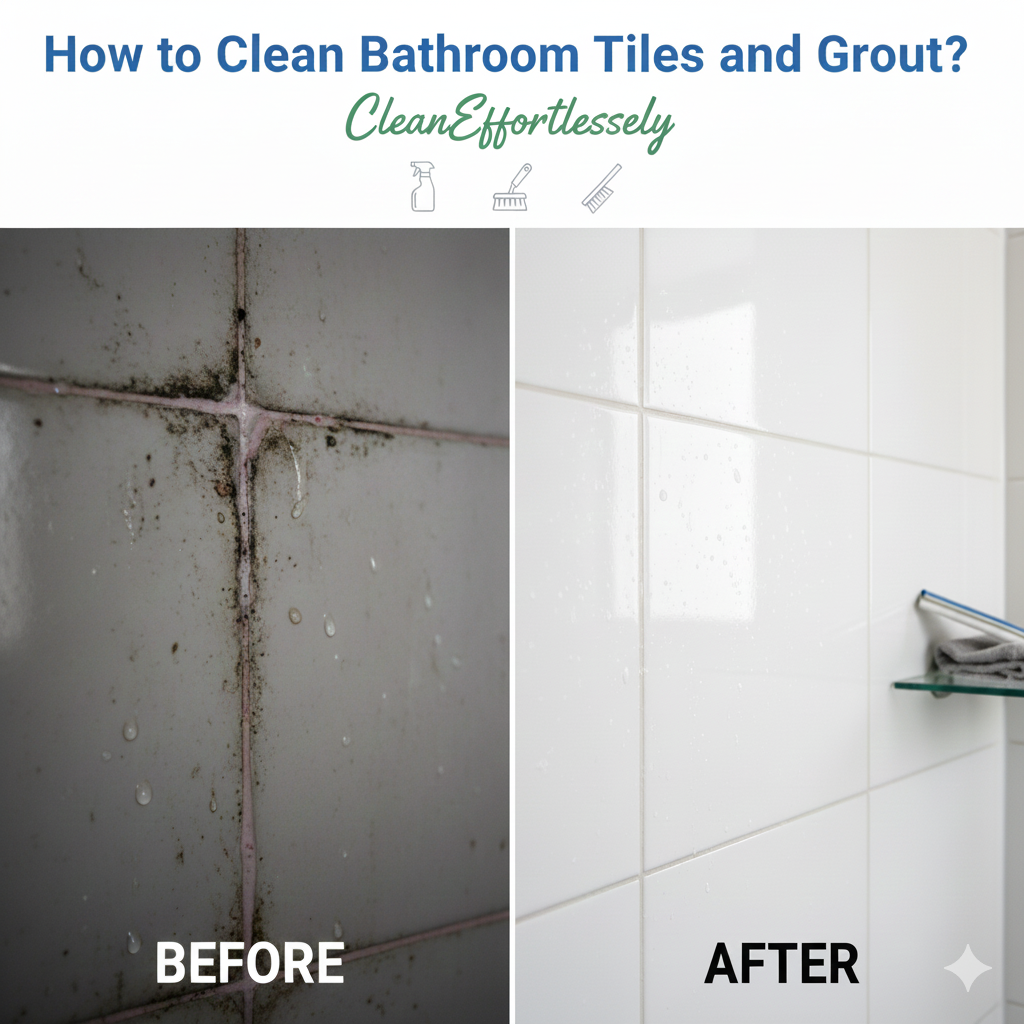
A nice bathroom will immediately improve the appearance of your house, but tile and grout tend to accumulate soap scum, mould and minerals faster than you think. Many people have washed their tiles repeatedly without seeing any improvement. Bathroom tile cleaning tips are all about doing the right things and using the right products. Let us discuss how to clean bathroom tiles and grout.
Introduction
This simple, reliable guide will help you clean bathroom grout and achieve the best results. You can use natural bathroom cleaners, DIY cleaners, or mild products suitable for different types of tile and grout cleaning at home. At the end, you will have a clear idea of how to clean bathroom tiles and grout without damaging surfaces, wasting time, or causing mould.
Cleaning your bathroom tiles doesn’t have to be stressful. DIY tile-cleaning methods are simple and effective. Get the shine back, remove grime, and get rid of the difficult-to-remove grout stain with the natural bathroom cleaners. Clean Effortlessly’s home tile cleaning guide covers everything you need to know about what to use on tiles and how to make your own cleaning solutions.
How to Identify the Type of Bathroom Tiles You Have
It is necessary to know the type of bathroom tiles you have installed in your house before beginning the cleaning process. Different tile materials require specific cleaning products and scrubbing techniques. An incorrect formula may either dull the surface or cause permanent stains. There are various types of natural stone tiles, including ceramic vs. porcelain tiles.
Ceramic, porcelain, and marble tiles are the most prevalent bathroom flooring tiles used in Australian homes. This will help you to decide which cleaning method to use once you identify the tile material.
Ceramic Tiles
Ceramic tiles are composed of a natural mixture of clay and water, then covered with a protective glaze. This makes them light and suitable for interior wall use, such as kitchens and bathrooms. They have a clean, polished look thanks to their smooth, glossy surface. Ceramic tile cleaning is not very difficult because the glaze prevents stains from settling. Most household cleaners can clean them without scratching or fading. They are less porous and do not need sealing, making them a low-maintenance option in busy households.
Porcelain Tiles
The porcelain tiles are manufactured from a fine clay that is fired at high temperatures, making them denser and stronger than ceramic tiles. Porcelain tile features include low water absorption, making them suitable for floors, outdoor areas, and high-traffic areas. They are also durable, which enables them to mimic natural stones and high-end finishes. Porcelain tile cleaning involves routine mopping and infrequent scrubbing, as the surface does not accumulate dirt easily. They are also not easily stained, making them easy to maintain in the long term. When properly maintained, porcelain tiles can last a long time, remaining shiny and in good condition.
Marble Tiles
Marble tiles are a natural stone, characterised by beautiful veins and a prestigious appearance. Every tile is patterned differently, creating spaces with an antique, detailed appearance. They remain naturally cool, making them well-suited to warm climates. How to clean marble tiles? Marble, however, is a fragile material and requires careful natural stone cleaning. When cleaning marble tiles, mild, stone-safe cleaners are recommended. Acids such as lemon and vinegar, as well as strong chemicals, may damage the surface. Regular sealing and gentle care help maintain the shine and prevent stains.
Best DIY Products for Cleaning Tiles and Grout Effectively
DIY tile-cleaning solutions are unbelievably helpful and safer for your family, pets, and tile surfaces. It is possible to create potent natural tile cleaners and a homemade grout cleaner using everyday pantry products.
Here is a list of a few basic ingredients useful for preparing tile-cleaning solutions at home.
Lemon
The lemon has natural cleaning acids that dissolve soap scum, minerals and grime. Rub a halved lemon on the tile surface, or dilute lemon juice with warm water to create a fresh lemon tile cleaner. Lemon should not be applied to marble or natural stone.
Vinegar
Vinegar is among the most non-toxic cleaners for tiles and grout. Combine vinegar and warm water in a spray bottle in equal proportions for cleaning tiles. This solution picks up dirt and cleans hard-water marks and light mould stains.
Baking Soda
To prepare the baking soda grout cleaner, mix three parts baking soda with one part water. Apply this baking soda paste for tiles between the grout lines. This helps loosen stubborn grime and whiten discoloured grout without using harsh chemicals.
Step-by-Step Methods to Clean Bathroom Tiles
The following is an easy step-by-step guide to cleaning bathroom tiles.
Preparing the Surface
The first and most significant step before any deep-cleaning routine is preparing the area. The first step will be to empty the bathroom floor and remove hooks, bottles, and toiletries from the walls. This provides one with complete access to any tile surface. Sweep or vacuum the room to remove any loose dust, hair and debris that may disrupt the cleaning process. Cleaning products should work on tiles rather than on dirt, which is achieved by removing this buildup. The tile-cleaning method helps to avoid the spread of grime during scrubbing.
Applying Natural Cleaning Solutions
After the surface is prepared, spray your preferred natural cleaning solution all over the tiles. Natural cleaners, such as vinegar-water solutions (for non-marble tiles) or weak cleaners, are used to dissolve soap scum and dirt. For grout lines, use a baking soda paste, as it is much more likely to stick to irregular surfaces than a liquid cleaner. Allow 10-15 minutes rest, allowing the ingredients to loosen dirt. This waiting time saves on the scrubbing that is required in the future. It also provides better cleaning of the stubborn stains and mildew.
Spray your chosen cleaning solution onto the tiles. For grout, pour a paste of baking soda into the lines. Allow the solutions to rest for 10-15 minutes.
Scrubbing and Rinsing
Once the solution has done its magic, the tile scrubbing steps involve using a microfibre cloth or a tile-cleaning brush to scrub the tiles. Apply light pressure when installing tiles to prevent scratching, especially on fragile tiles. Grout areas need a little more force, so a stiff-bristle brush is best for removing trapped dirt. Also, make sure to scrub in a circular or back-and-forth direction to evenly clean. When this is complete, rinse all with warm water to remove any residue and leftover cleaner. Extensive rinsing helps prevent streaking and product deposition.
Drying to Prevent Moisture
Drying is equally important as cleaning, since moisture left behind may cause mould growth. Wipe down all tile surfaces and grout lines with a clean microfiber cloth or soft towel. Be very careful about crevices in which water is likely to accumulate. Drying is also used to maintain the tiles’ shine and prevent water spots. When you have a poorly ventilated bathroom, you can use an exhaust fan to speed up drying. A dry tile floor can also last longer and minimise bacterial growth.
How to Clean Marble Tiles Without Damaging Them
Marble must be handled with extreme care. Here is how to clean marble bathroom tiles without damaging them.
Warm Water + Microfibre Cloth
Marble tiles can be cleaned with warm water and a safe, daily cleaning agent that does not interact with the stone’s natural minerals. All that is required is to immerse a piece of microfiber cloth in warm water, squeeze it dry, and wipe the marble with it to remove light dirt and dust. This is an effective way to clean daily or weekly so dirt does not accumulate. One should not use too much water, as marble is porous and can become wet. Wipe with a soft towel to prevent water spots from forming on the surface. It preserves your marble tiles without any danger.
Mild Dish Soap Solution
Marble tiles require a little more care, and a mild dish soap solution is appropriate for regular cleaning. Blend a little tender, pH-free dish soap and warm water. This produces a light formula that does not damage the marble’s finish. Wipe with a soft cloth in light strokes to preserve the stone’s natural shine. Wash the tile thoroughly under running water to ensure the soap film does not settle on the surface. There should be consistent follow-up on drying, as marble does not respond well to standing water.
Removing Stains Using Baking Soda Poultice
A baking soda poultice is a safe and effective way to remove hard stains on marble tiles. To create a paste that will remain on top of the stain, mix baking soda with water until it forms a thick paste. Apply it to the surface and wrap it in plastic wrap to aid its penetration. Keep the poultice covered for 12-24 hours to allow it to extract the stain from the stone gradually. After doing so, wipe the place and clean it with clean water. The technique does not scratch or damage delicate marble.
How to Clean Grout Like a Professional
Even the cleanest bathroom may seem unclean because of the dirty grout. Let us understand how to clean bathroom grout. The best thing to do is use baking soda, vinegar, and a stiff brush.
Using a Stiff-Bristled Brush
One of the most helpful tools for cleaning grout is a stiff-bristle brush, as its bristles penetrate the minute grooves. It helps remove hard-to-clean dirt, soap scum, and mildew that soft brushes often struggle to remove. Apply strong back-and-forth strokes to loosen grime without damaging grout. Clean in small sections to ensure even coverage and better control. It is particularly effective in busy places where grout is likely to darken more quickly. After scrubbing, rinse the area to remove any loosened dirt.
Using Paste-Based Cleaners
Cleaners made from paste are good for grout since they stick to the surface and last longer. Staining paste can be removed successfully with baking soda paste, oxygen bleach paste, or mild commercial grout paste. Thicken the layer with the cleaner, then apply it directly into the grout lines to allow it to penetrate. Let the paste dry, then scrub. The waiting time helps dissolve grime more effectively. Once the paste has softened the dirt, clean the surface with a stiff brush, either in a circular or back-and-forth motion. Wash the tiles thoroughly with plenty of water to leave no residue behind.
How Long to Let the Solution Sit
The resting of the cleaning solution is an important part because it allows the ingredients time to dissolve mineral deposits and dirt. Home cleaning agents such as baking soda and vinegar typically require 10-15 minutes to begin working effectively. For older or heavily stained grout, it is better to allow the mixture to dry for 20-30 minutes. The soaking stage minimises the scrubbing required later. Hence, making the task less difficult. The solution must, however, not be allowed to dry fully since this will result in streaking. Monitor the area to ensure the mixture is slightly moist.
Rinsing & Drying Properly
Washing the surface with warm water helps remove the cleaning paste, dissolved dirt, and loose debris. Streaks are also prevented with warm water, which reinstates the tiles’ clean appearance. It is necessary to dry the grout with a clean cloth or a microfibre towel after washing. Drying will help prevent mould and mildew, which grow in moist conditions. It also prevents the dirty water from settling down into grout lines. This is because a completely dry surface makes your freshly cleaned grout bright.
Tools You Need for Cleaning Tiles and Grout
You would require the following tools for cleaning tiles and grout:
Hard Bristle Brushes
A tile-cleaning brush with hard bristles is ideal for removing dirt without breaking tiles.
Toothbrush for Corners
A toothbrush is an excellent tool for scrubbing grout. It is perfect for reaching places where the grout is very small and difficult to achieve.
Non-Scratch Scourers
Use floating soap scum with non-scratch scourers to prevent surface scratches.
Spray Bottles for Mixtures
Spray bottles help apply homemade cleaning mixtures evenly.
How to Prevent Bathroom Tiles and Grout from Getting Dirty Again?
The following actionable tips help prevent bathroom tiles and grout from getting dirty again.
Weekly Wipe-Down Routine
A weekly wipe-down will prevent dirt, residual soap, and hard water from settling on your tiles. Warm water or a light cleaner normally suffices to maintain the appearance of surfaces. This routine also prevents the formation of grime in grout lines, which is more difficult to clean later. Cleaning your bathroom weekly will save you time and make it feel brighter. The key to avoiding deep-cleaning sessions is consistency.
Quick After-Shower Cleaning Habits
Wiping down as soon as one gets out of a shower can greatly reduce soap scum and water stains. Using a squeegee or microfiber cloth helps clean up excess moisture on tiles. This will prevent mould growth on wet surfaces. It also prolongs the appearance of your tiles, keeping them shiny and clean. Even 30 seconds after every shower can make a significant difference.
Ventilation & Airflow Tips
Ventilation must be good since humidity will promote the growth of mould and mildew. Opening windows during and after a shower helps speed the release of steam. Even better is using an exhaust fan, especially in bathrooms without windows. Open-air airflow will help surfaces dry more quickly, reducing the number of water spots and unpleasant odours. The drier your bathroom, the cleaner your tiles and grout will be.
Natural Deodorising & Freshness Hacks
This is because simple natural remedies, such as bowls of baking soda, will absorb any lingering odours in the bathroom. The diluted eucalyptus oil sprayed on it gives it a fresh smell and helps fight bacteria. These procedures are non-toxic and can be used regularly. They will also add to your cleaning routine to ensure that the space smells clean. Between thorough cleansing, use natural deodorants to make your bathroom fresher.
When to Call a Professional Tile and Grout Cleaner
Get a professional tile and grout cleaning expert on board when mould persists, grout remains dirty, and tiles are still sticky. When to hire a cleaner? It is better to have a professional deep grout-cleaning service after washing or when you are going to rent or sell. DIY is useful for maintenance, but professionals do it better with lasting effects.
The Clean Effortlessly Difference.
Clean Effortlessly provides excellent tile and grout cleaning services in Sydney. Our expert cleaners in Sydney use environmentally friendly, safe products for the whole family. Our professional cleaning in Sydney helps rejuvenate surfaces. Our commitment lies in ensuring accuracy, reliability, and complete customer satisfaction.
Clean Effortlessly promises to keep your bathroom tiles and grout cleaner longer with modern tools and trained workers. Get guaranteed results without the hassle and chemicals. Call us today at +61 489 266 960, and we will be happy to clean your bathroom every time.